
Flash Working Environment
- In this chapter you'll set your working environment and determine banner frame that will be
created during this class. Start the application.
- Info panel gives information about location and size of objects on the monitor and helps while
creating a movie. Go to Info panel, choose Window -> Info. Info panel appears.
- Put info panel right from the working environment. Position the pointer above Info panel so it
would appear as an four-sided arrow.
- Pull Info panel above the panel locked area, right from the stage, and release mouse button when
grey line is shown on the other side of panel environment. Info panel is now connected to other
panels.
- Close Components Panel because you won't be using it on this class. Choose Close Panel from the
falling menu of Components panel in upper right corner of Components panel. It will not be
showing under the working environment anymore.
- Instead of continuous opening and closing individual panels that you would be using in movie,
you can choose to open panel set. Choose designer panel set for designing an animation on this
class. Choose Window -> Panel Sets -> Designer (1024x768). Property Inspector stays below
working environment and Info, Align, Transform, Color Mixer, Color Swatches and Answers panel
appears in panel area.
- Adjust the size of stage for your movie. Since no object is selected, Property Inspector allows
you to choose a movie appearance. Click on the Size button in Property Inspector. A Document
Properties dialog box appears with already defined width.
- Leave chosen document width but change the height so it is shorter and more appropriate for banner. Type in 130 into the height field.
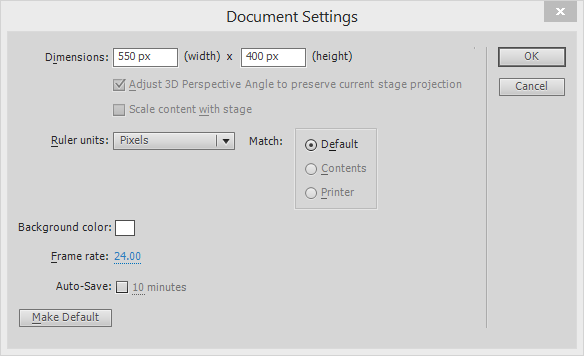
- Other values stay unchanged. Click OK.
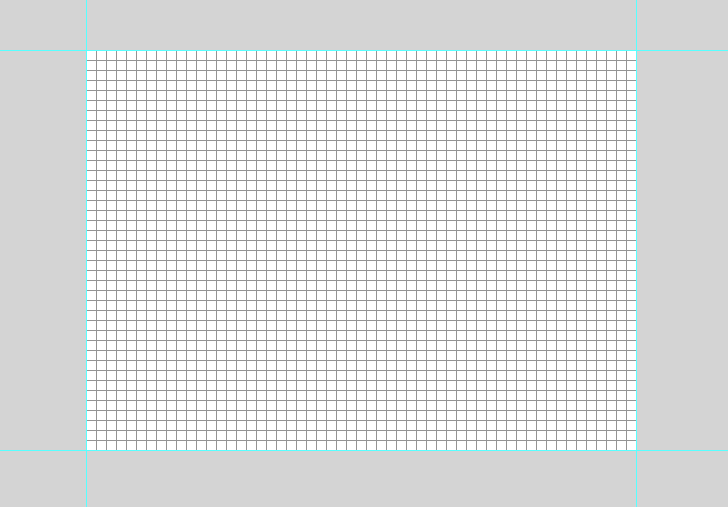
- At the end, add the net to be your guide for putting objects on the stage.
- Now you're finished adjusting your document. Save it as jammin_banner.fla in Flash MX Level 1 Data folder.
CONCLUSION
This lesson shows you Flash movie. You have introduced yourself with Flash and its advantages for web projection and animation. You have been choosing the panel set for work, adding and closing panels, and setting initial characteristics using Property Inspector.
